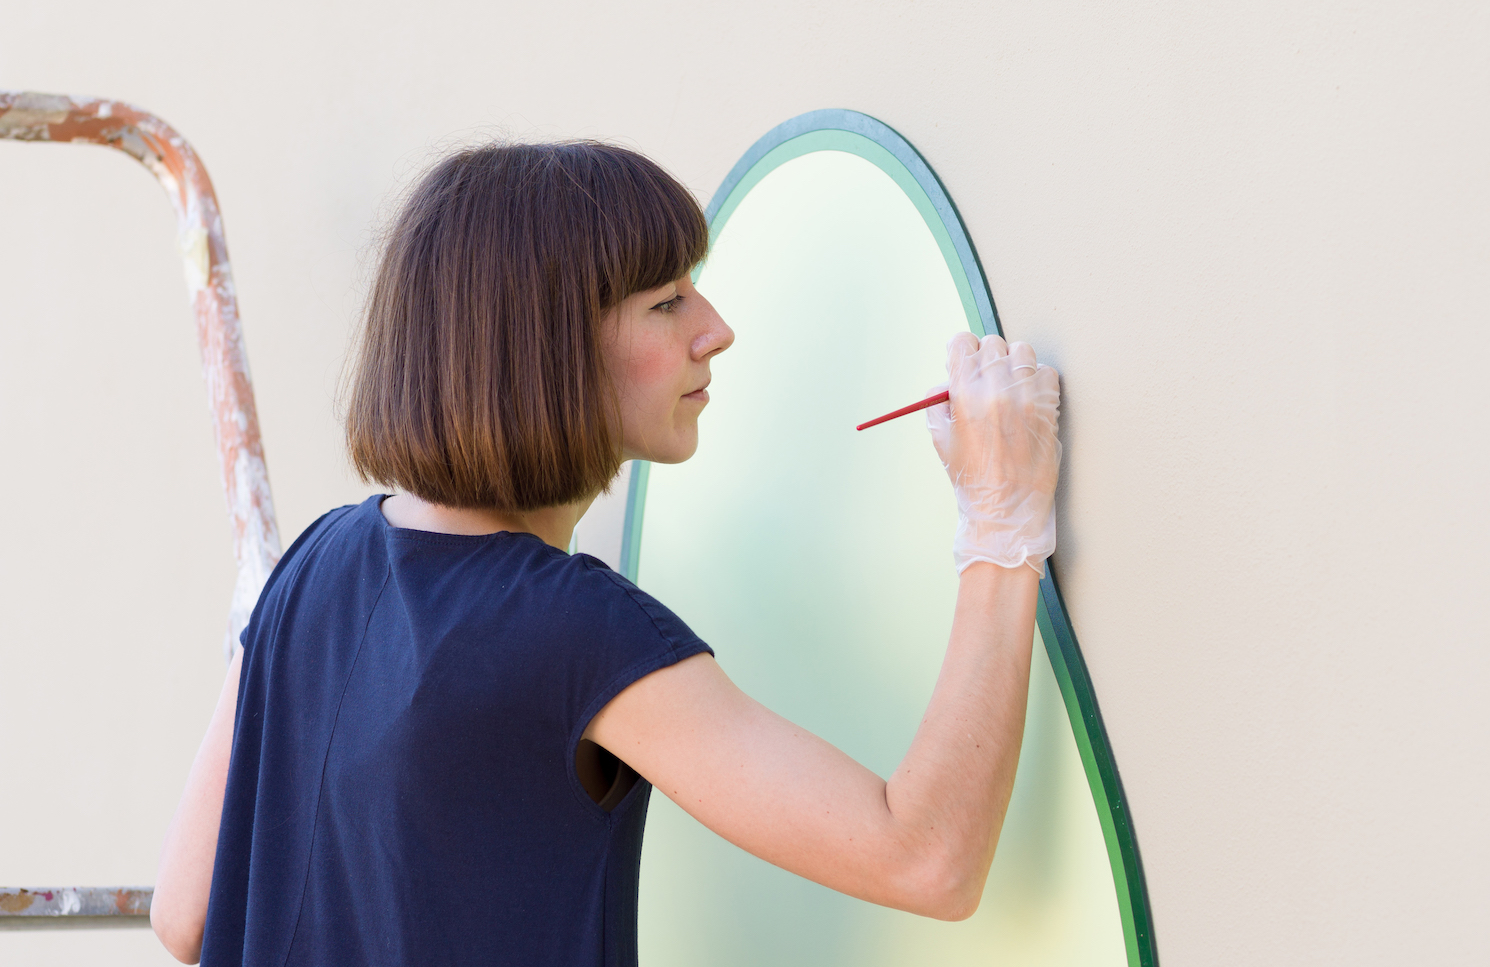
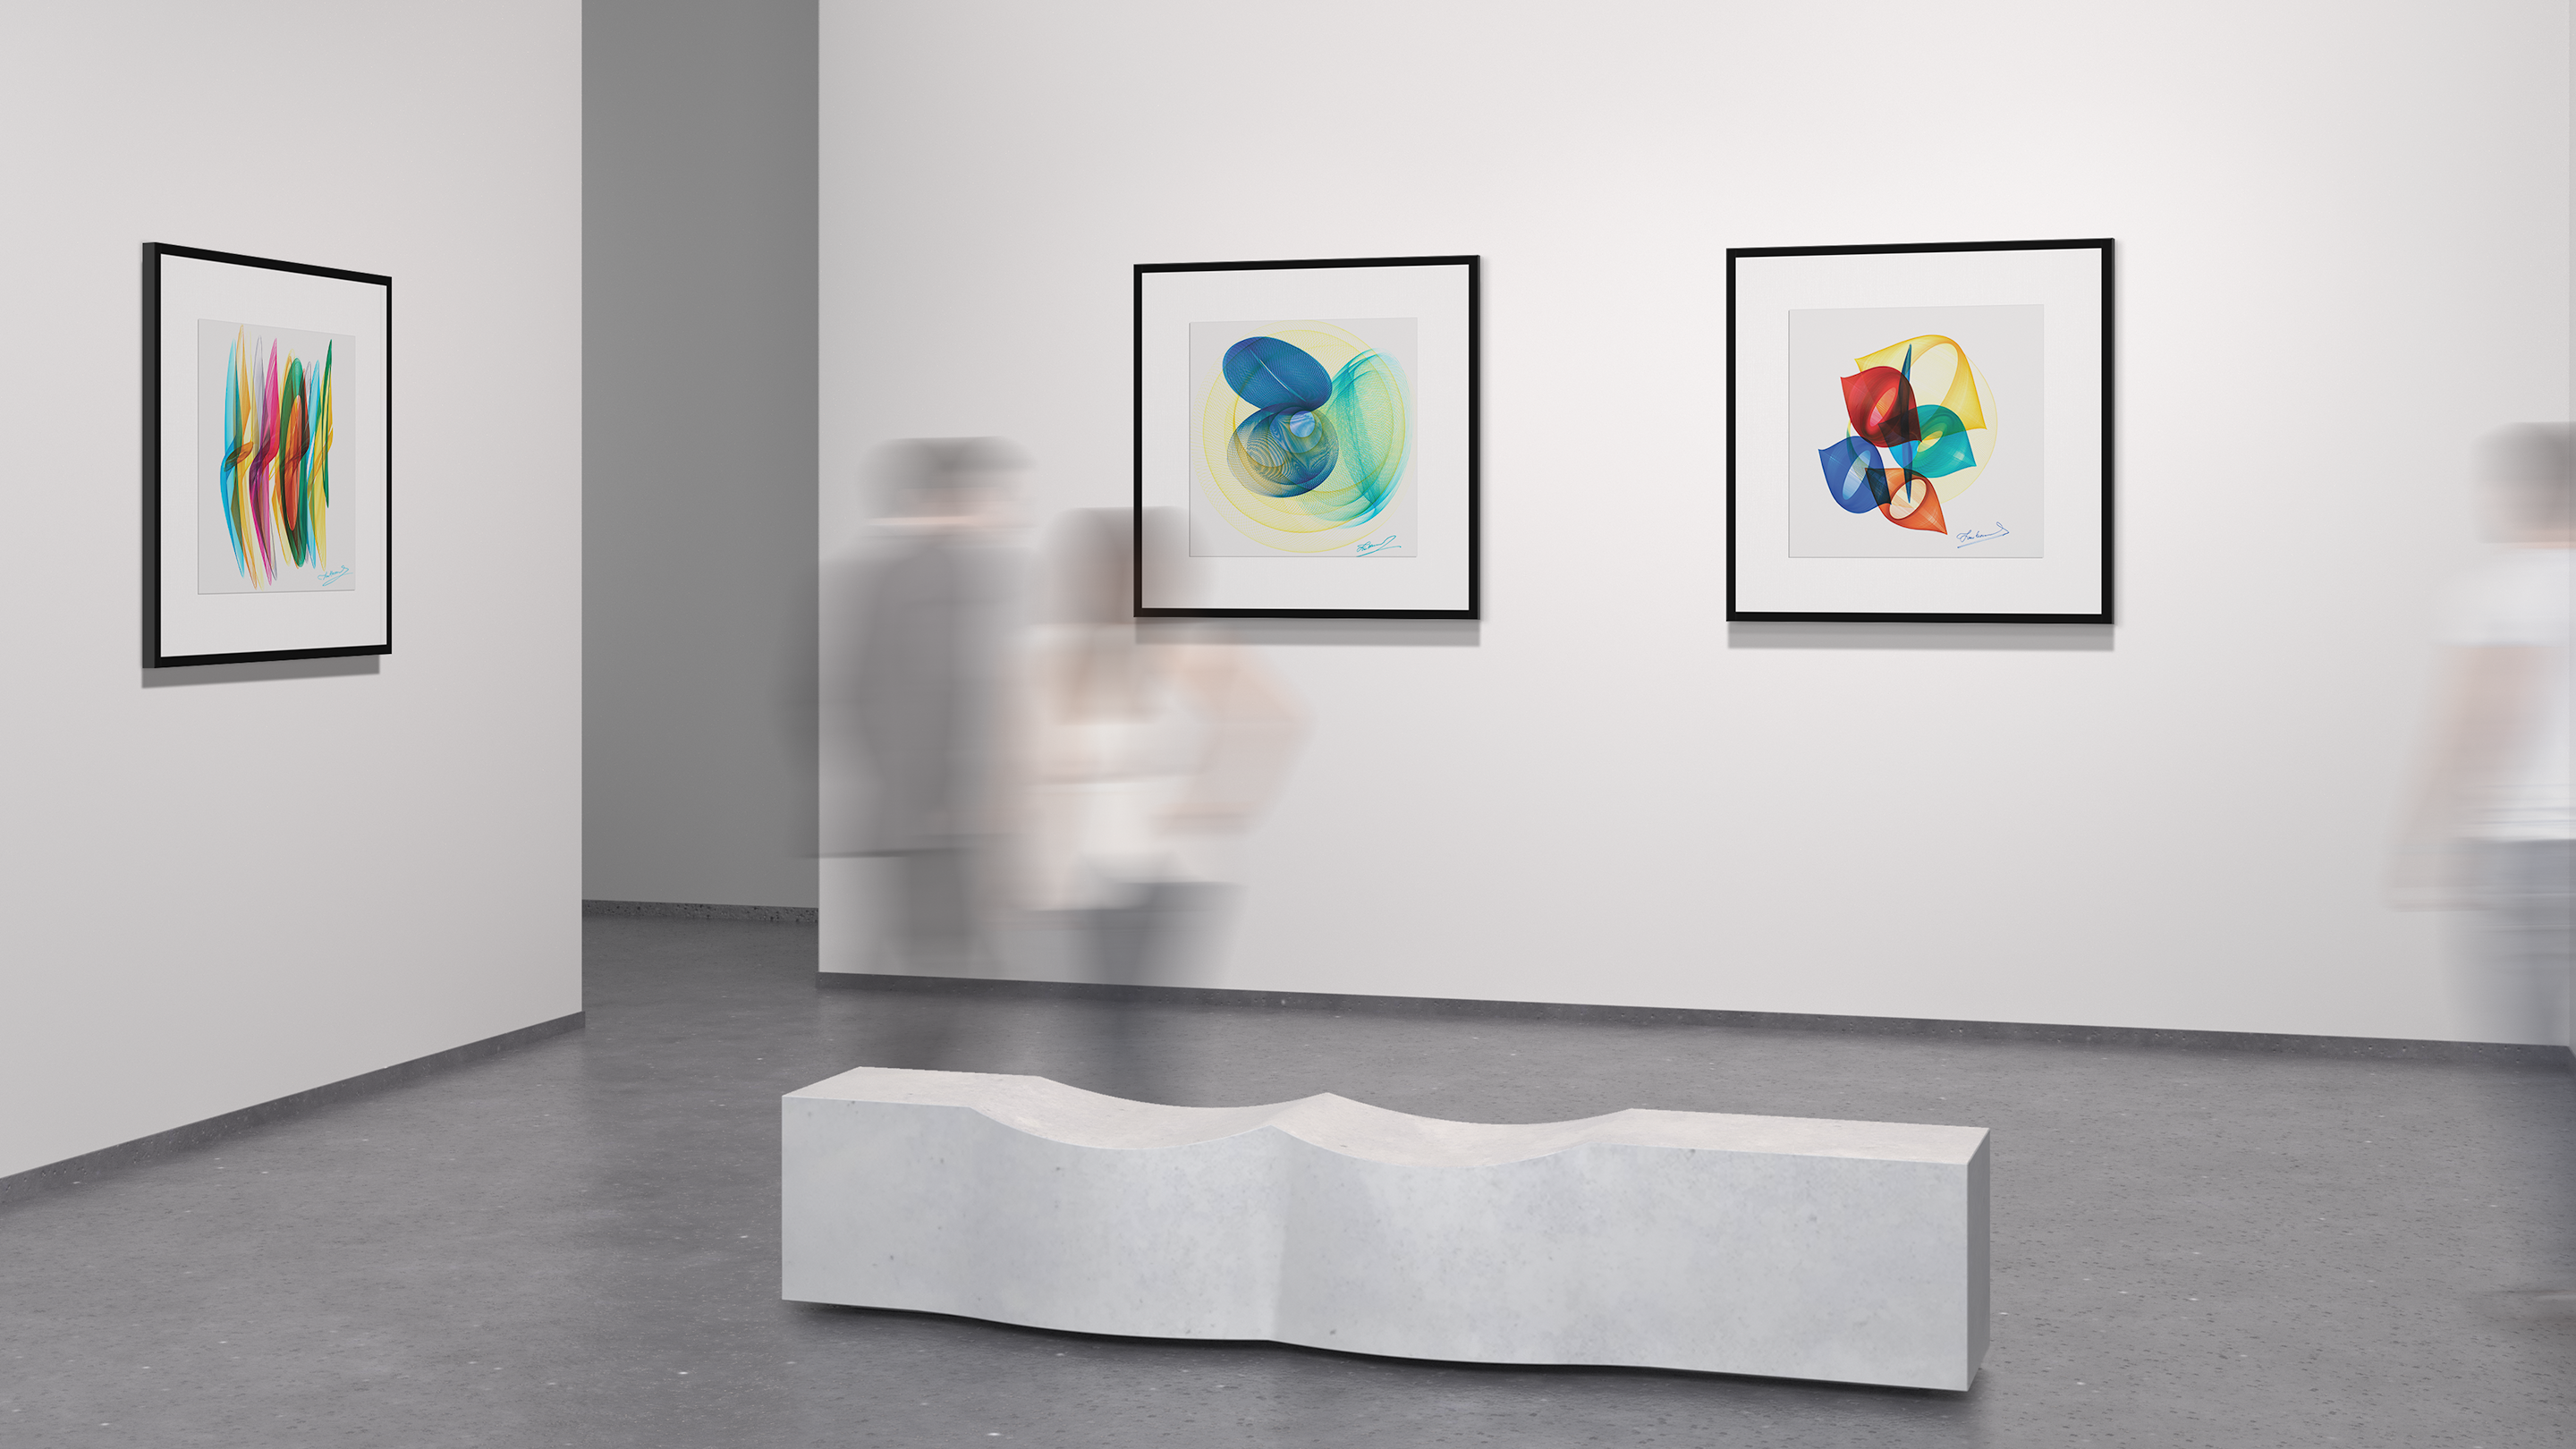
Informed by art-science interplay and technical understanding of the paper materials he molds and manipulates into intricate forms, Matt Shlian’s work is always evolving. The Ann Arbor, Michigan-based artist takes an engineer’s approach to create geometric sculptures from archival papers.

Photo by Chad Jensen
“I’d say my starting point is curiosity; I have to make the work in order to understand it,” he says on his website. “If I can completely visualize my final result I have no reason to make it—I need to be surprised.”
His work process is collaborative, often involving input from scientists and other experts in various fields. Shlian (pronounced “Schline”) has exhibited his artwork extensively across the US and has received commissions from well-known brands such as Apple, Facebook, and PBS. In 2012, he and his collaborators received a $2 million grant from the National Science Foundation to explore the potential applications of origami in solar cell technology.

Despite their complexity, Shlian’s pieces have a lighthearted quality that belie the amount of planning and experimentation that goes into their creation. “I learned by taking things apart, doing things the ‘wrong way’ and being curious,” he says. “Getting something wrong is more important to learning than copying something perfectly.”
Once he has a prototype that he is happy with, he begins the process of refining and perfecting it. Some of his playful approach is tied to his fondness for kids and his willingness to share ideas with young minds. A father himself, he’s worked with Sesame Street to produce a video showing a group of youngsters how to use his Misfold kinetic sculpture pattern to create an impressively large hanging mobile from colored paper. In addition to sharing his own creative process with students around the world, Shlian is also always happy to share his latest projects. Want to try the Misfold pattern on your own? Follow the easy step-by-step instructions below.
Misfold Pattern
- Download the template here
- Print out the template and cut all along the solid outline
- Fold the piece in half along fold line A

- Fold each side diagonally in half along fold lines B

- Fold both forward and backward to weaken the crease, then pop it inward inside the card
- Fold creases C and D both forward and backward

- Pop each side inward (along creases C) and pop each side back outward along creases D
- Fold creases E forward and backward and pop each inward inside card

- Repeat process on second sheet of paper and carefully glue pieces back to back
Tips for joinery
- Gluing 4 in the same orientation (lining up pointy ends) = circular form
- Gluing 2 in the same directions and reversing the next two = long form seen in the above video


Leave a comment
This site is protected by hCaptcha and the hCaptcha Privacy Policy and Terms of Service apply.